Drawing and Part Number Lookup |
Contact Us
920-569-0140
![]()
Instructions for Cutting Pockets in Tool Foam
Click here for printable instructions.
The instructions below outline the steps to make a foam tool organizer for shadowing tools using a handheld router. A straight bit gives the best results, and most two-flute woodworking bits work fine. A 1/4-inch diameter bit is about right to remove material quickly while still cutting tight inside corners.
In addition to a router, you'll need double-sided tape and a marker (dry erase markers work well). Wear safety glasses and consult your router manual for safe practices.

Tape the foam blank to your work surface.
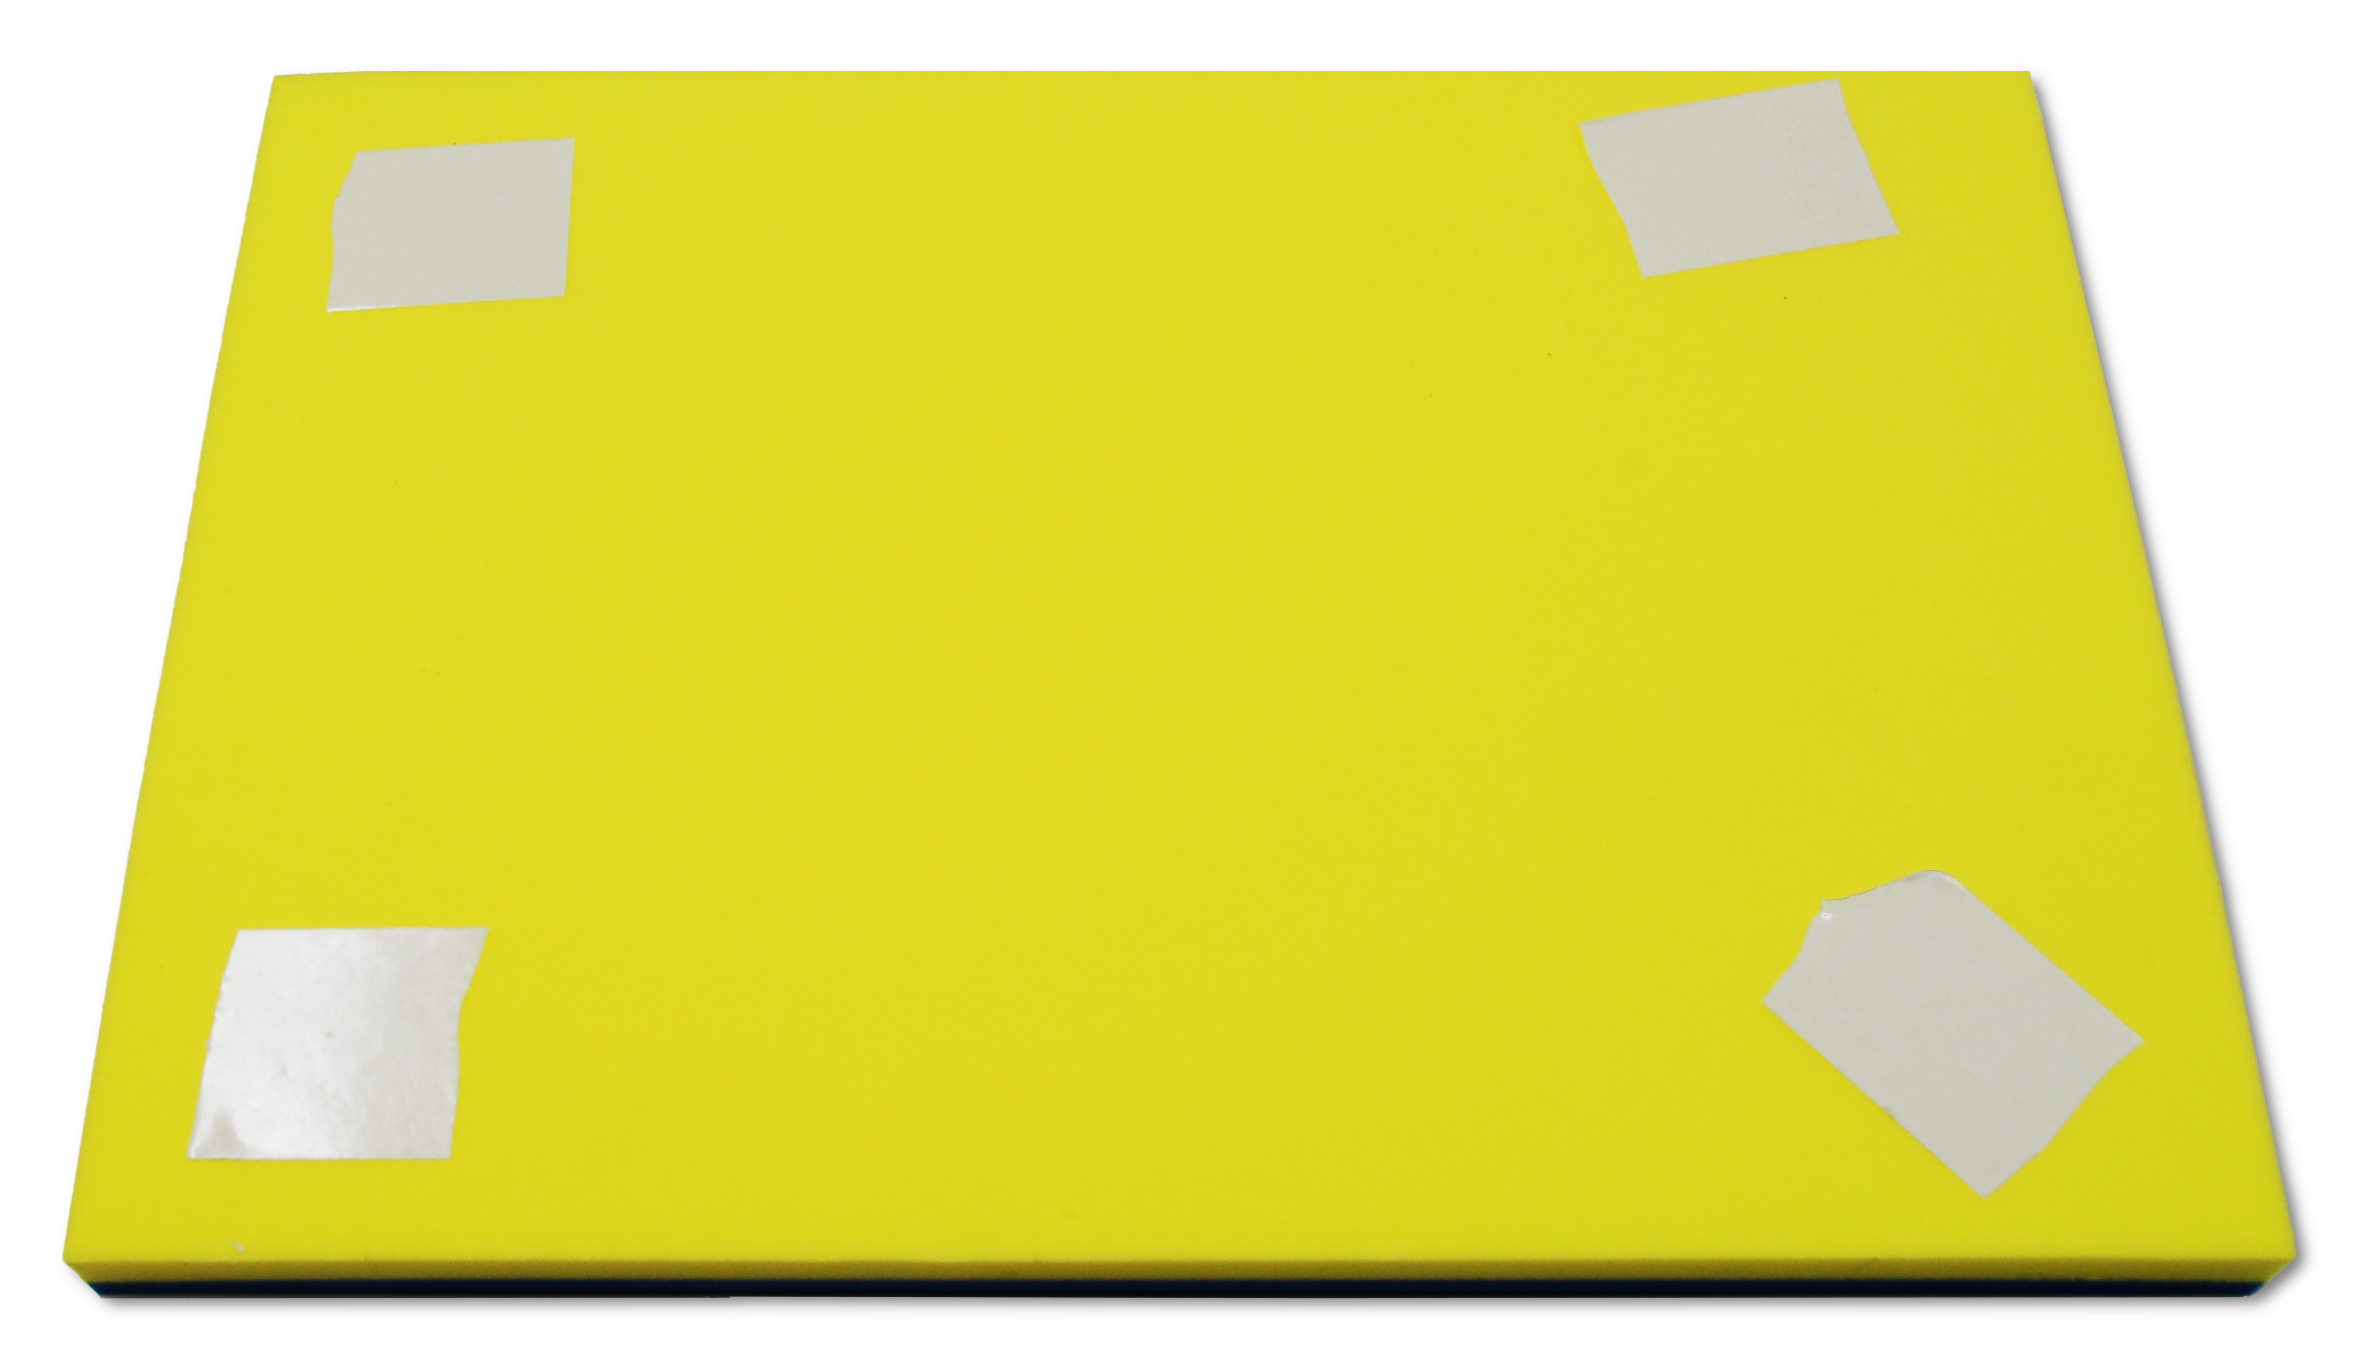
Arrange your tools on the foam blank.
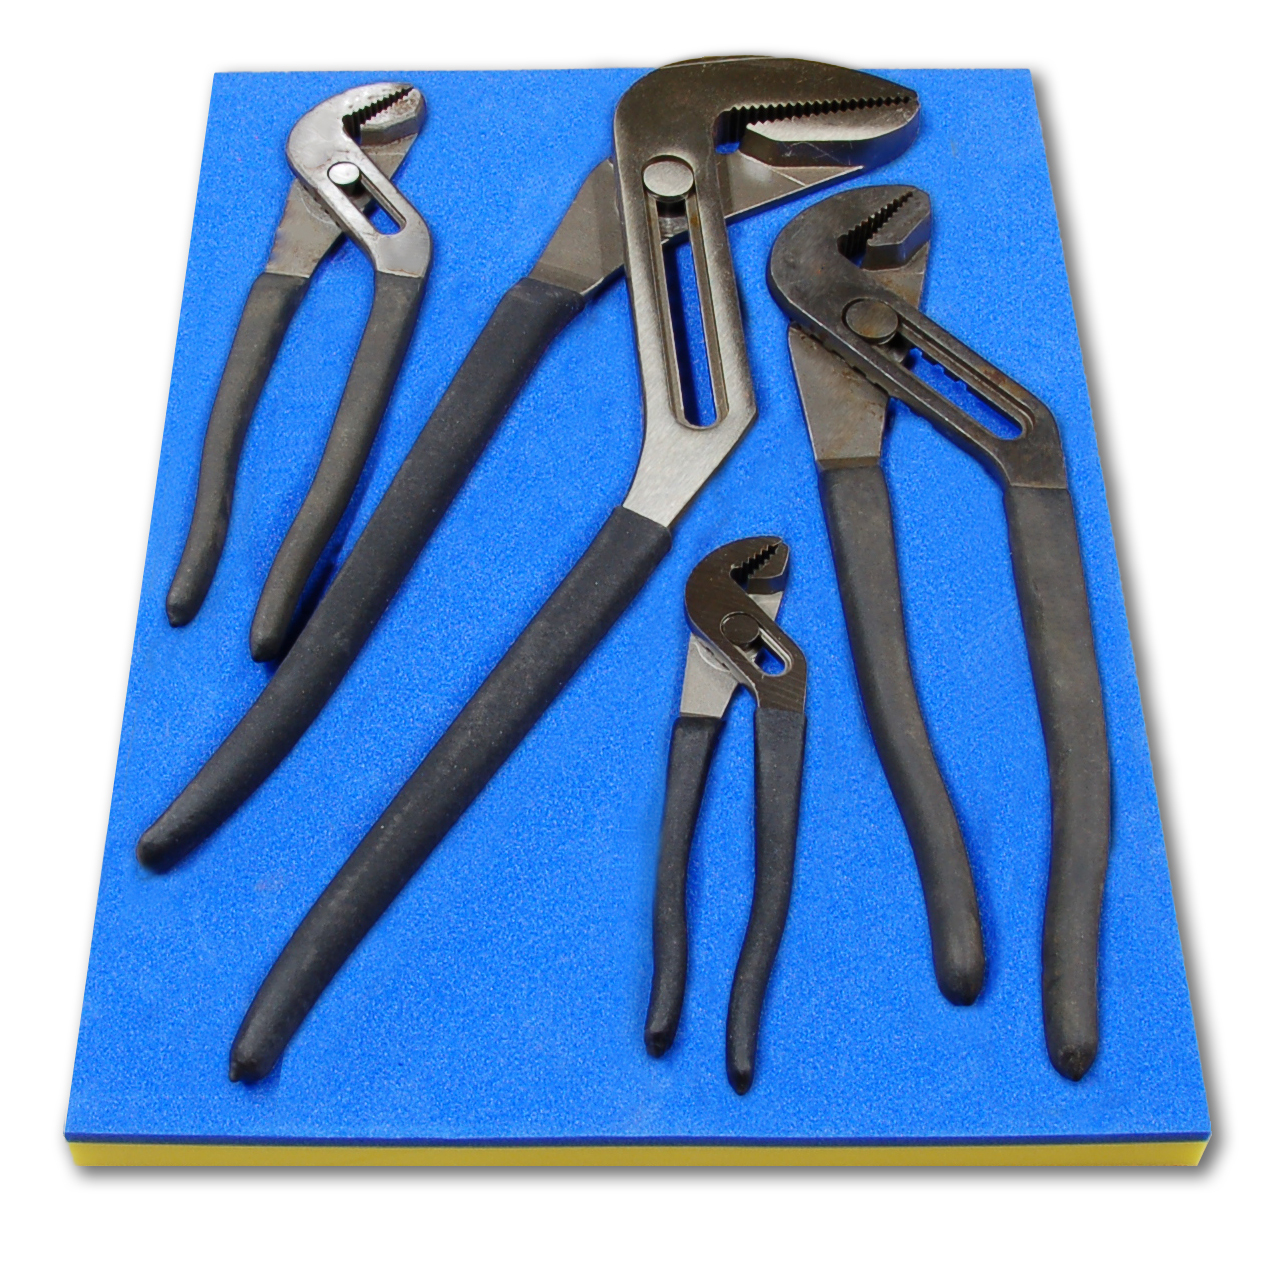
Use a marker to trace your tools.

Set the bit to the desired depth of cut. Use a slow rpm if your router has variable-speed settings, and plunge in the center of the cutout.
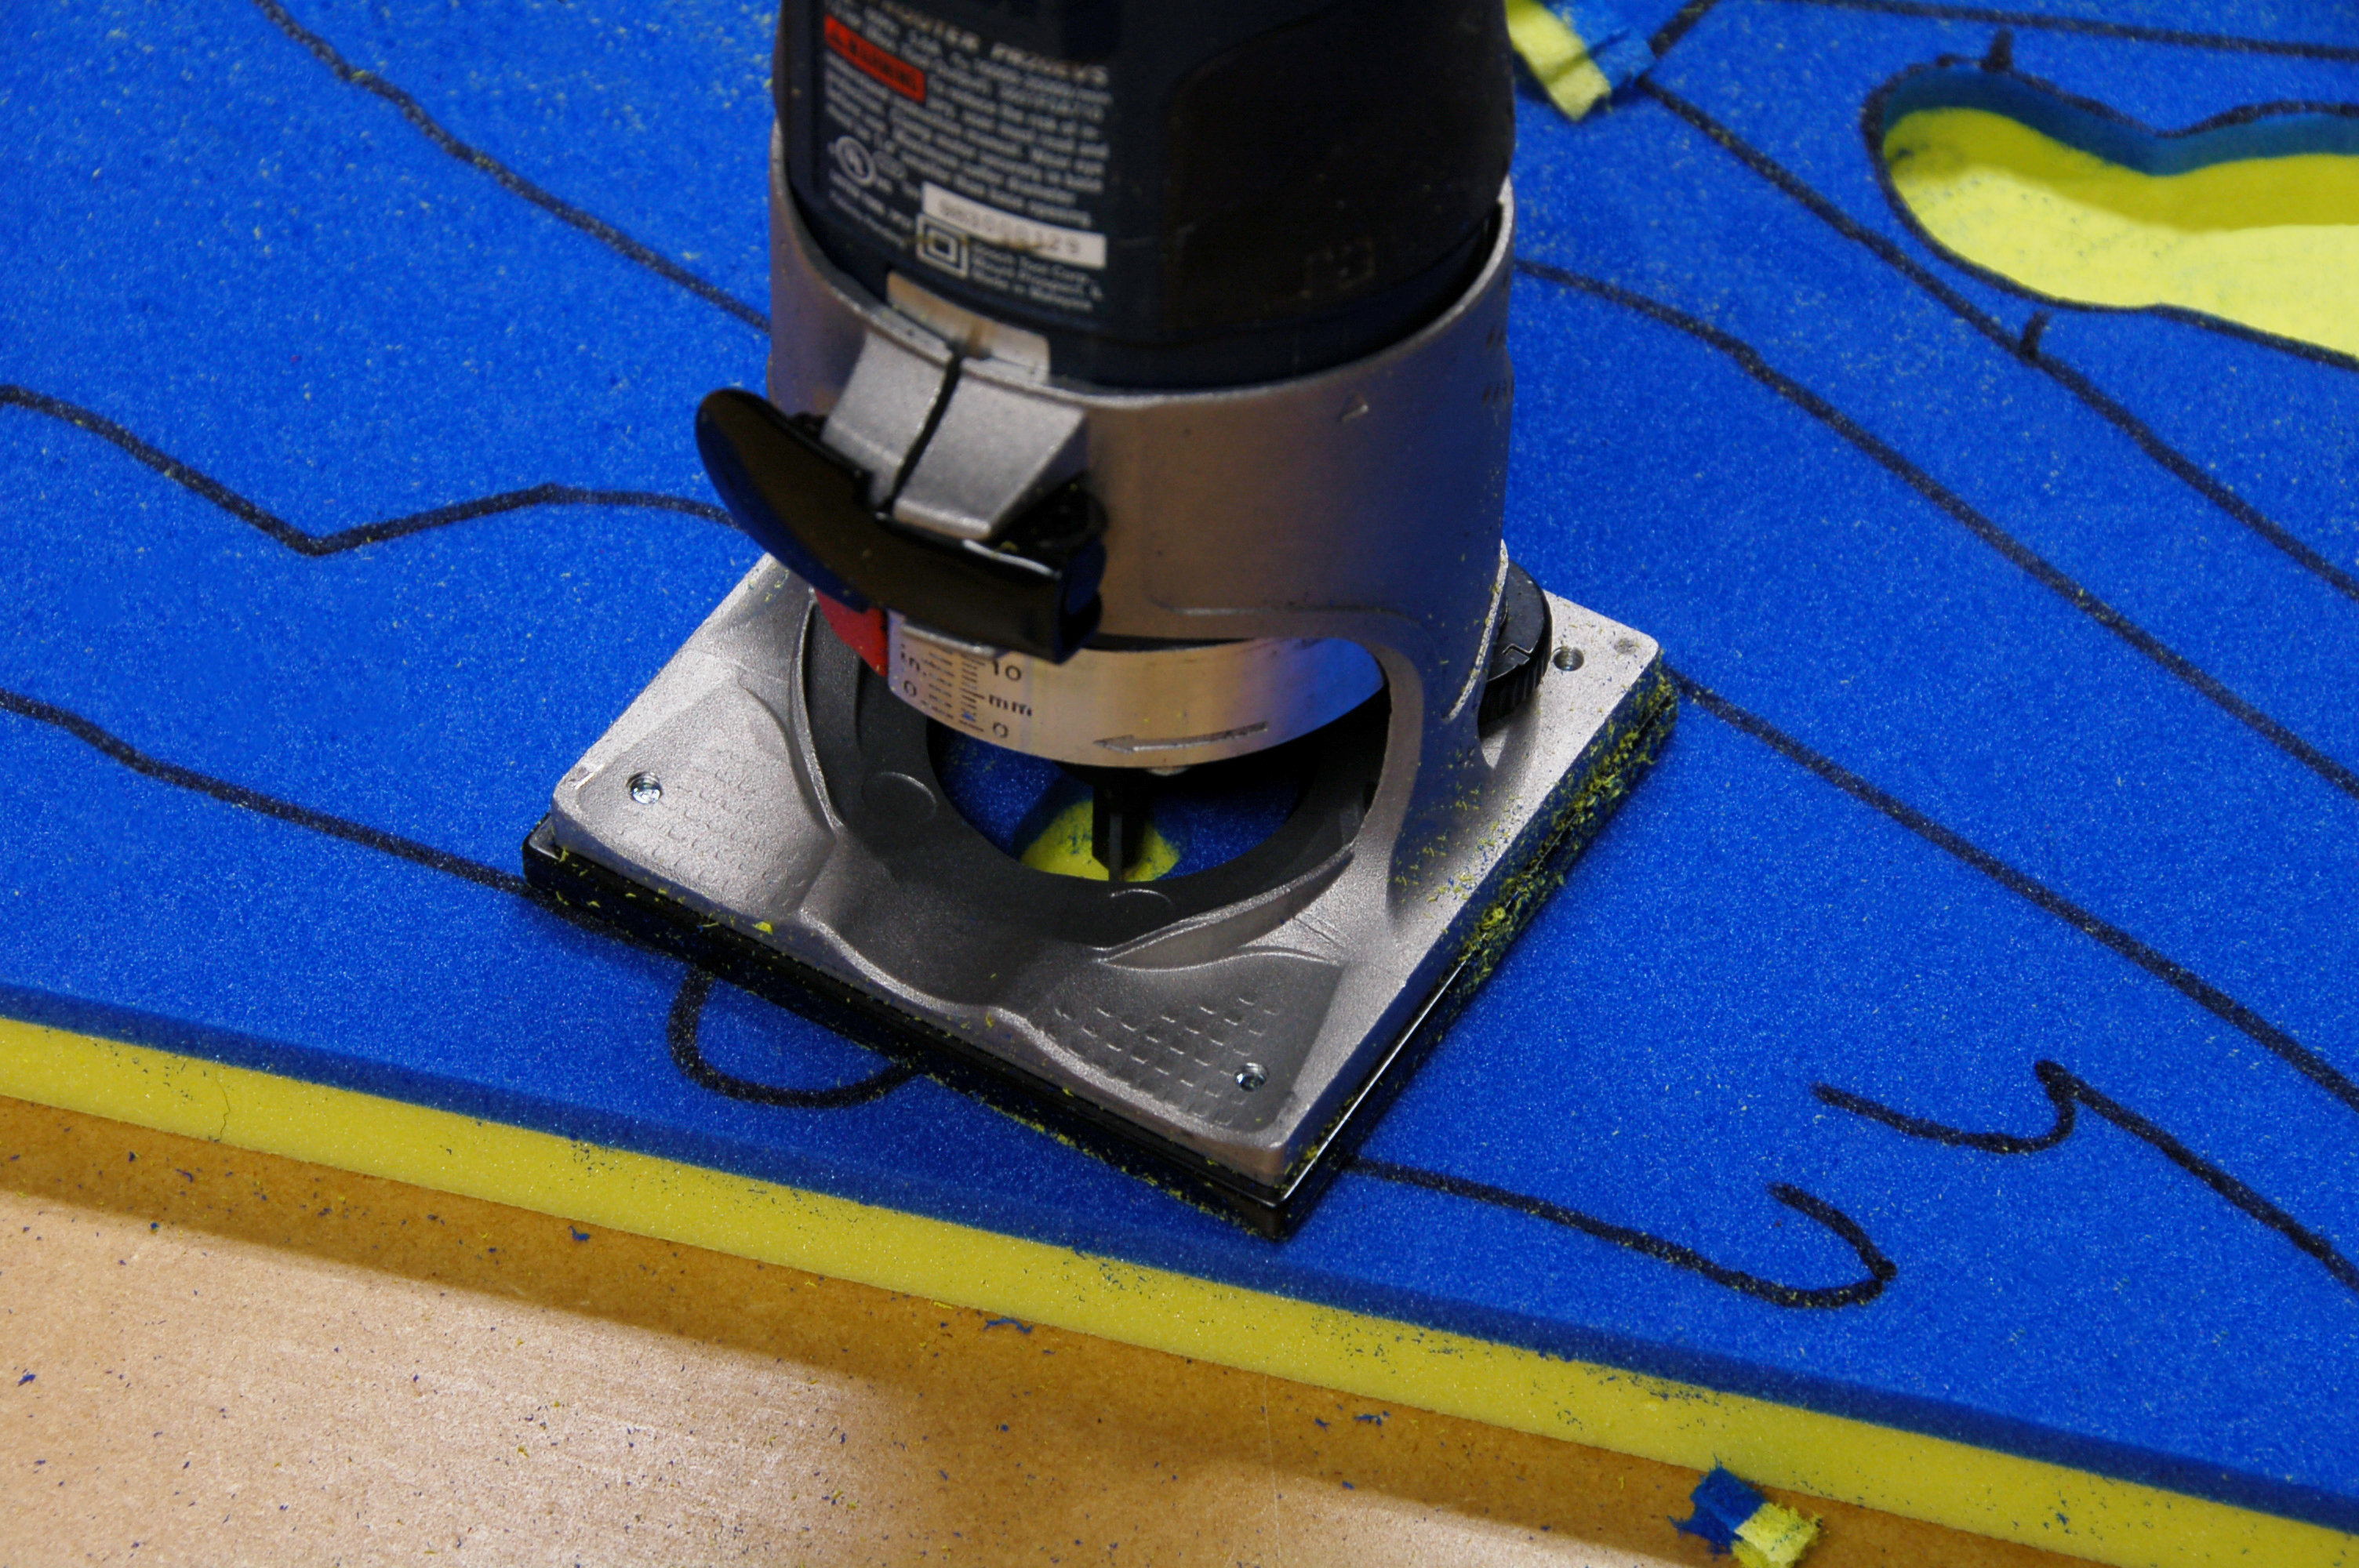
Cut from the center moving outward in zigzag motion. The last pass should be at your marker line and done in a clockwise direction.

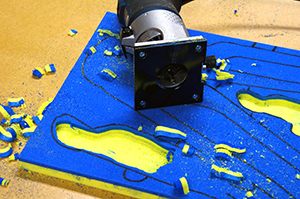
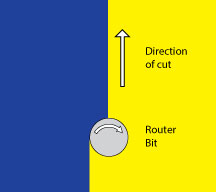
Add additional cutouts and finger pockets.
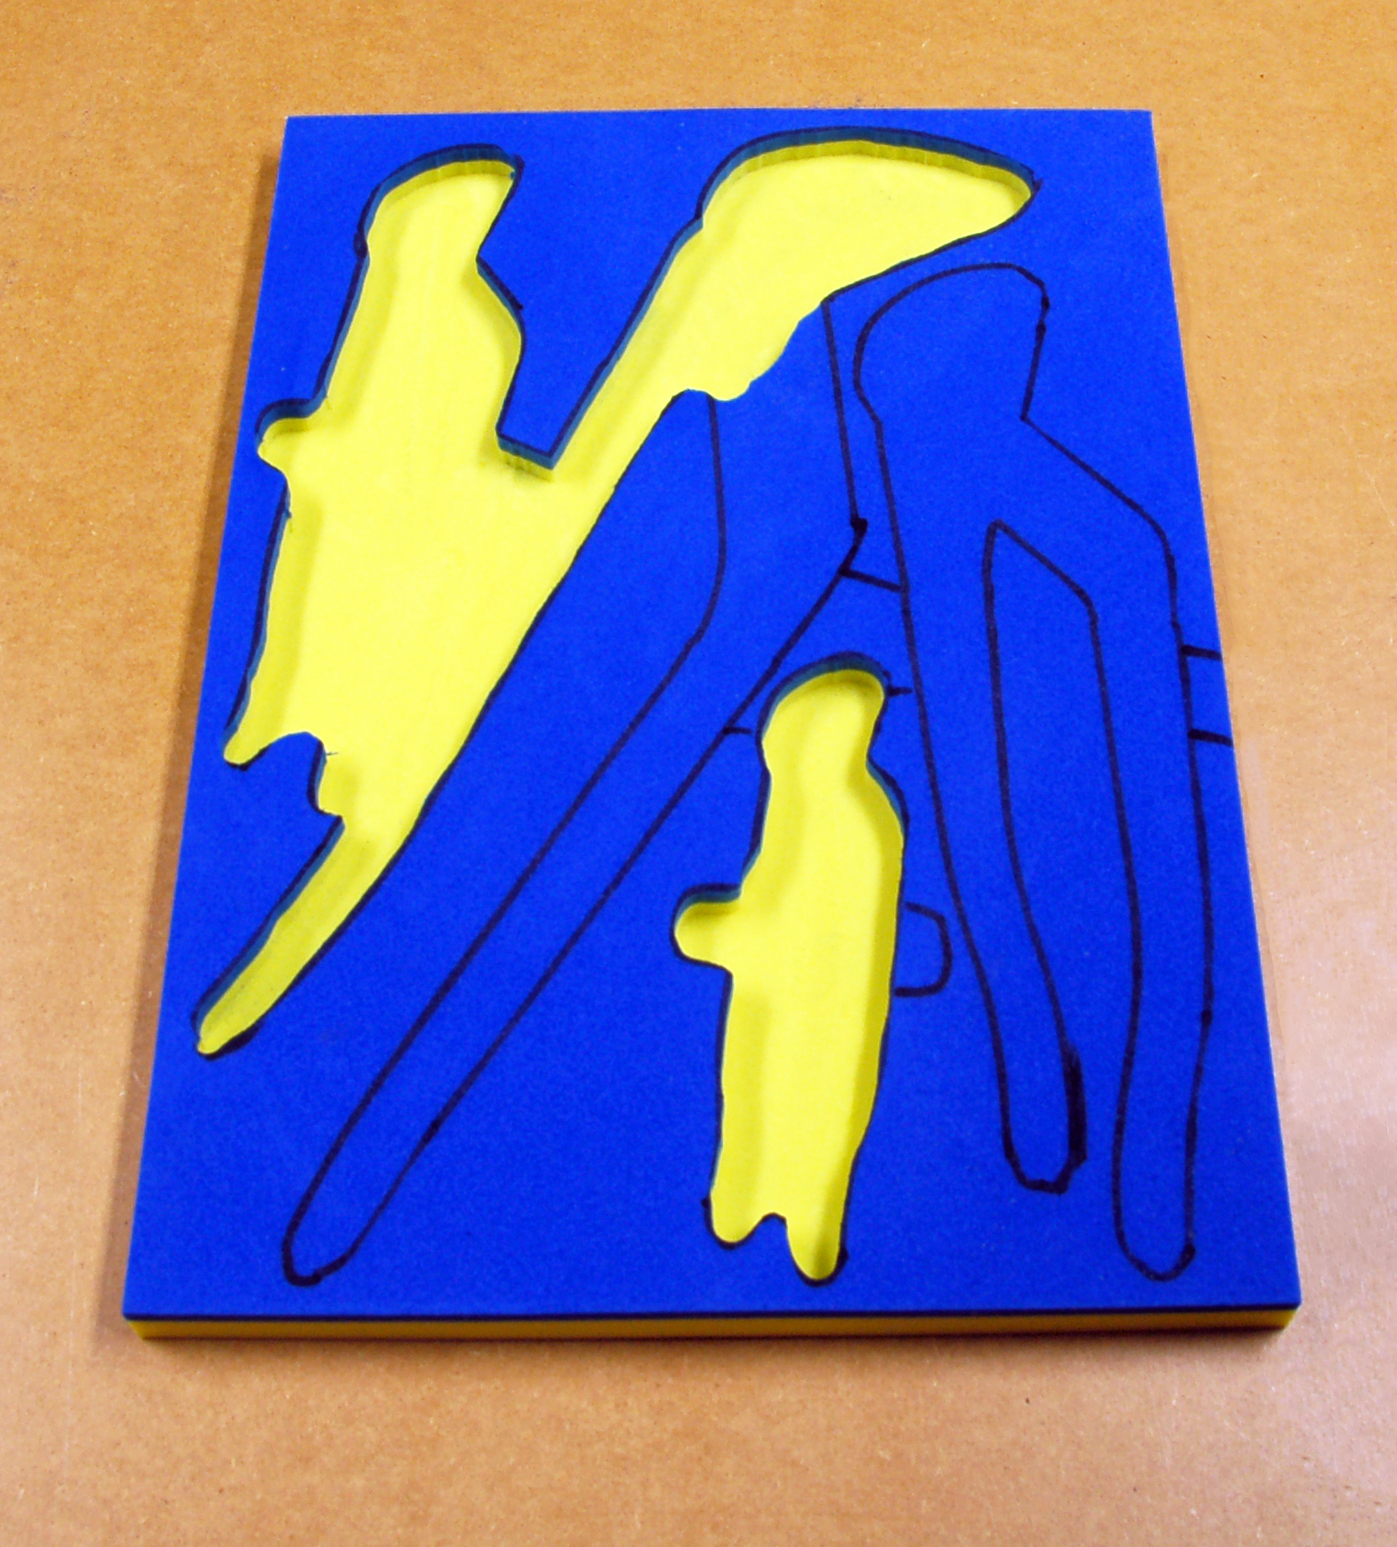
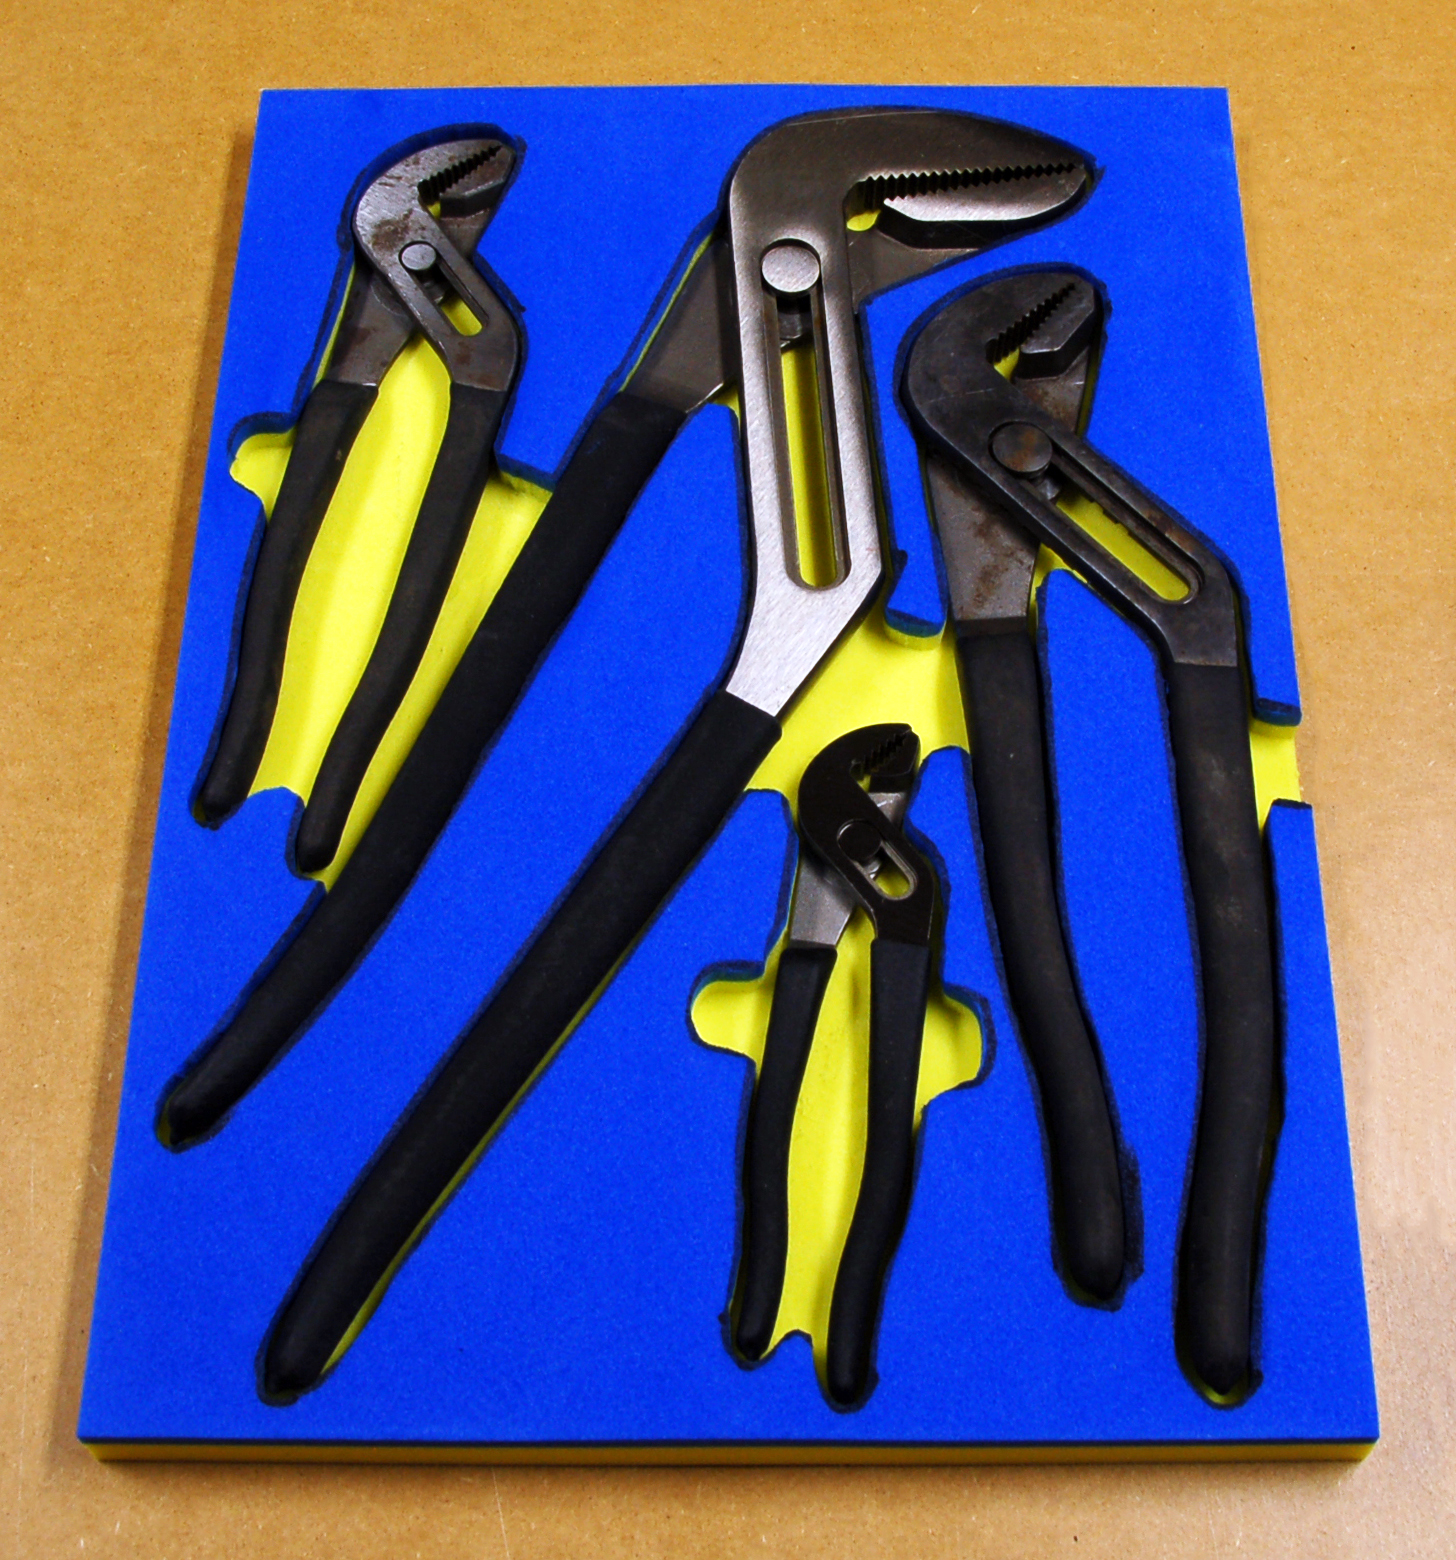
The finished result.
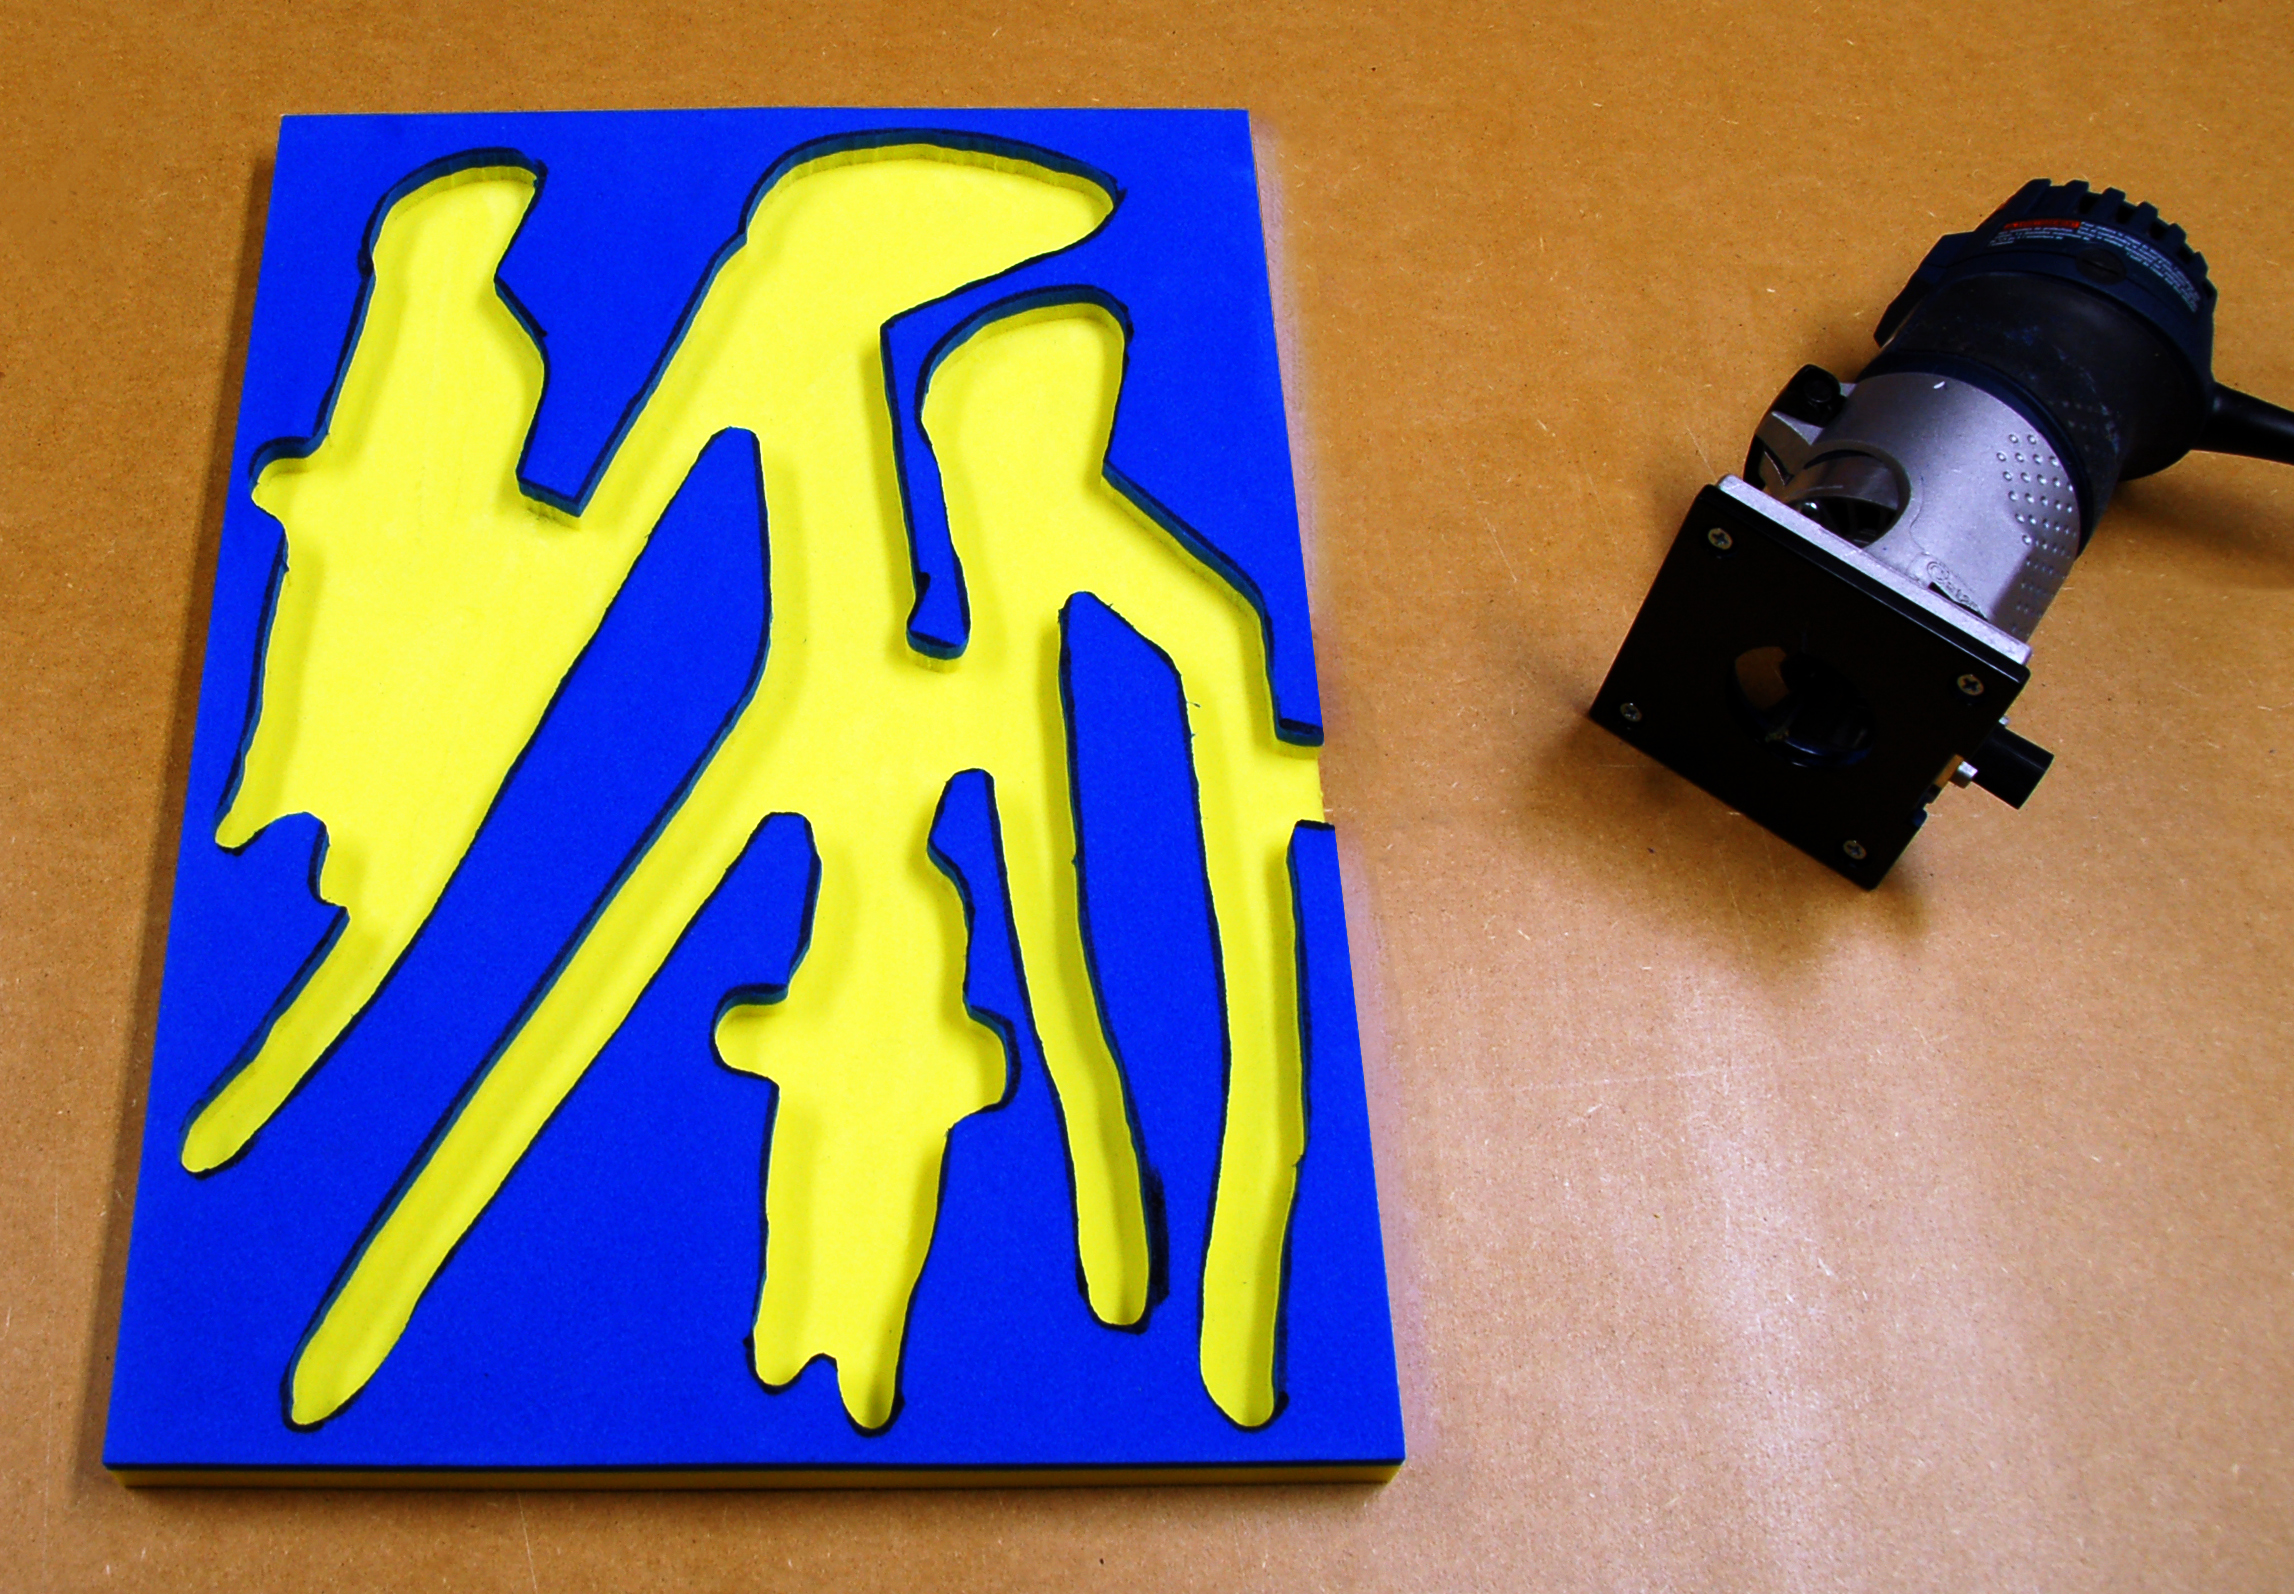
Check the fit of your tools.
